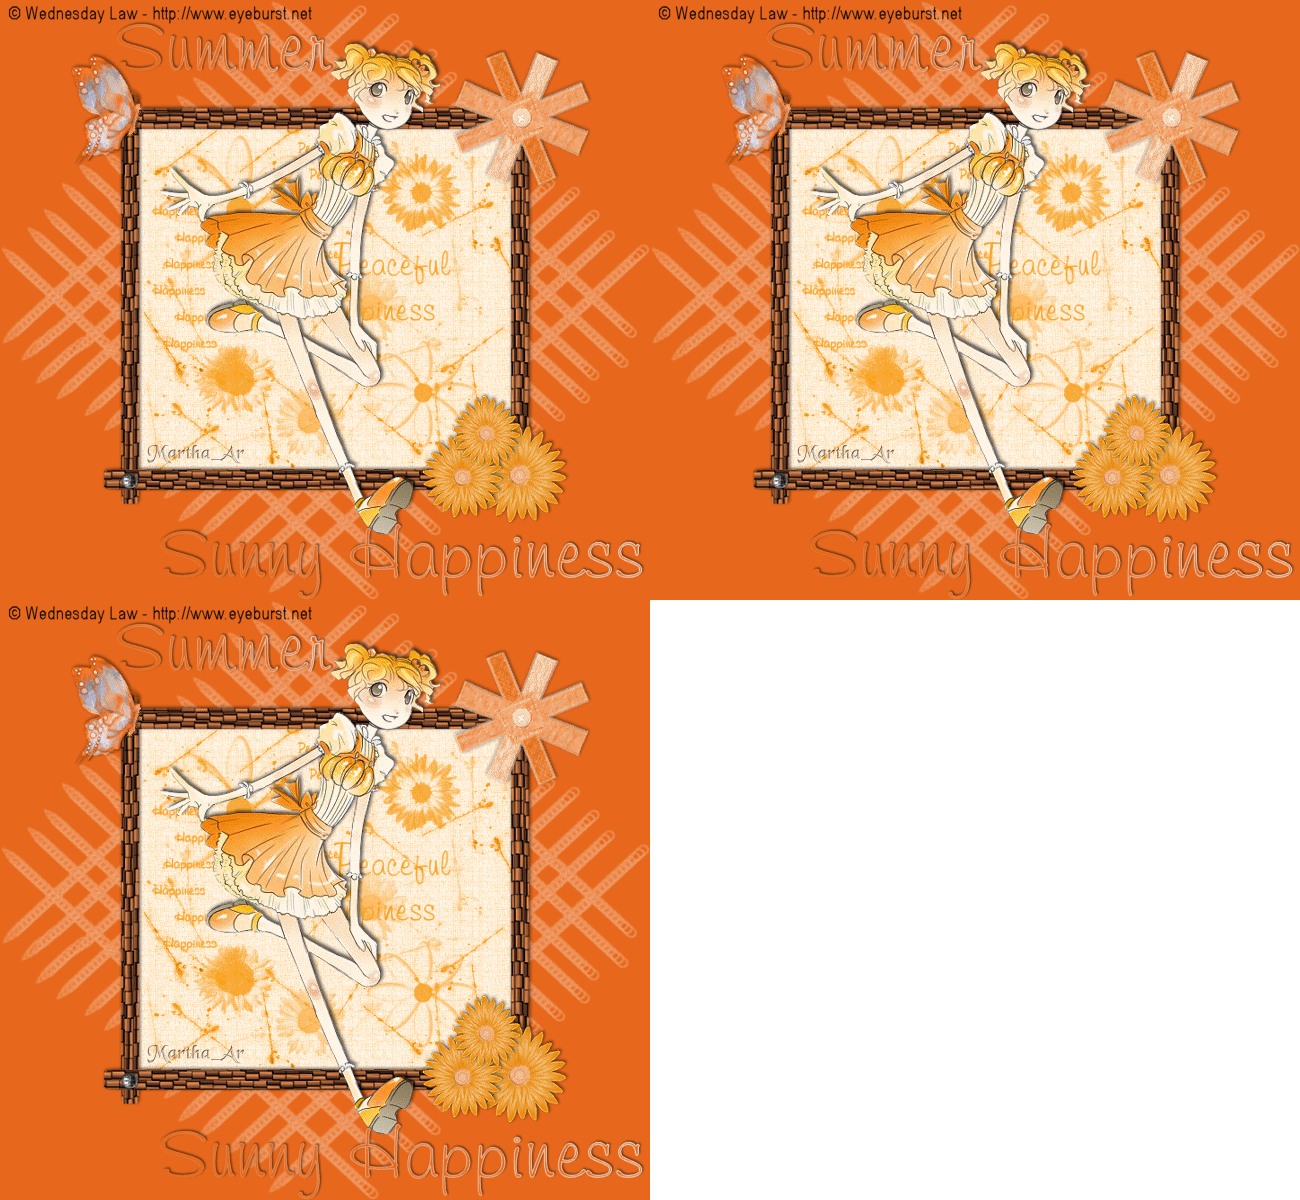
A very easy tut this time, just for a change: Relax and start copying and pasting the elements from my Sunny Scrap Set to make this cute and summery tag.
MATERIALS
Filter Alien Skin Xenofex 2 Constellation
Open all the elements in my Sunny scrap set in your PSP. Save the M_A-SunnyHappiness masks in your mask folder and my M_A-WordArt_PH brush in your brush folder, or you can import it later.
1. Open a white image, 650 x 600.
2. Now, activate my Wooden Frame, copy and paste as new layer. Resize by 85% and apply a drop of shadow: V: -1; H: 1; O: 65; B: 5; Colour: Black.
3. Click inside the frame using the Magic Wand. Selections < Modify < Expand 5. Open a new layer and move it below the frame layer.
4. Activate my Paper, copy and paste into selection. Deselect.
5. Now, copy my Butterfly and paste it as new layer. Rotate a bit and position on the frame. Add the same drop of shadow as before.
6. Copy the flower and paste as new layer. Resize by 85% four times (use bicubic). Position it at the lower left side of the frame. Duplicate twice. Resize the first copy by 85% only once, and resize the second one by 85% twice. Arrange as if it were a bunch. Apply shadow to each flower.
7. Now copy my bow and paste it as new layer. Resize by 85% three times. Position on the upper left side of the frame. Apply the same shadow as before.
8. Open a new layer between the paper and the frame layers. Look for my My M_A-WordArt_PH brush. Select colour #e8691c as your foreground colour. Change the number in the Size box (400) to 330. Apply two or three times. Change the layer mode to Luminance.
9. Open a new layer and place it below the white background. Floodfill it with a dark orange shade. I used #e8691c.
10. Load one of the M_A-SunnyHappiness masks. Tick the following options: Source Luminance, Fit to Layer, Invert transparency and Show all mask. Apply it on the white layer. Merge group and apply a light drop of shadow again.
11. Now open your tube of choice (I'm attaching the one I used, © Wednesday Law <http://www.eyeburst.net>) and paste it as new layer. Add a darker drop of shadow to the tube: V: -2; H: 2; O: 65; B: 3; Colour: Black.
12. Add your text, credits and watermark and save as jpg. I used font 'Kayleigh', size 48.
Or... we can animate it!
ANIMATION
1. First of all, we are going to select the areas we want to animate wth the Selection tool: parts of the butterfly, the flowers and the bow. Remember to press the Shift button each time you finish selecting an area and start selecting the next. If you feel unsure, you may save the selections to Alpha Channel: Selections < Load/Save Selection < Save selection to Alpha Channel. See my screenshot below:
o 6

2. Make two copies of the buttefly, the flowers and the bow. Close the copies. On the original layers, apply the filer Xenofex 2 Constellation with the following settings:

3. Now, close the original layers and discover the first copy of each layer. Apply the filter using the same settings, hit Random Seed when applying it.
4. Close the first copy of each layer and uncover the second copy. Apply the filter with the same settings and don't forget to hit Random Seed once.
5. Open your AS. Close all the copy layers, copy merged and paste into the AS.
6. Back into PSP. Close the original layers, uncover the first copies, copy merged and back into AS, to paste after the current frame.
7. Last step. Back into PSP, cover the first copies and uncover the second ones. Copy merged for the last time and paste into AS after the second frame.
8. Give each frame a speed of 10 and save as gif. AND... we're done!!!
Easy and cute, uh?
As always, I'd love to see your results and post them in my Tags Showcase. Press my name to get my mail.
May 11, 2008
Please, do not claim my work as yours, copy or grab any of the material here (written or graphic) in any way or place. All my tuts were registered with TWI before I showed them in this site.
This tut has been registered with

#tags #PSP #summer #happiness
