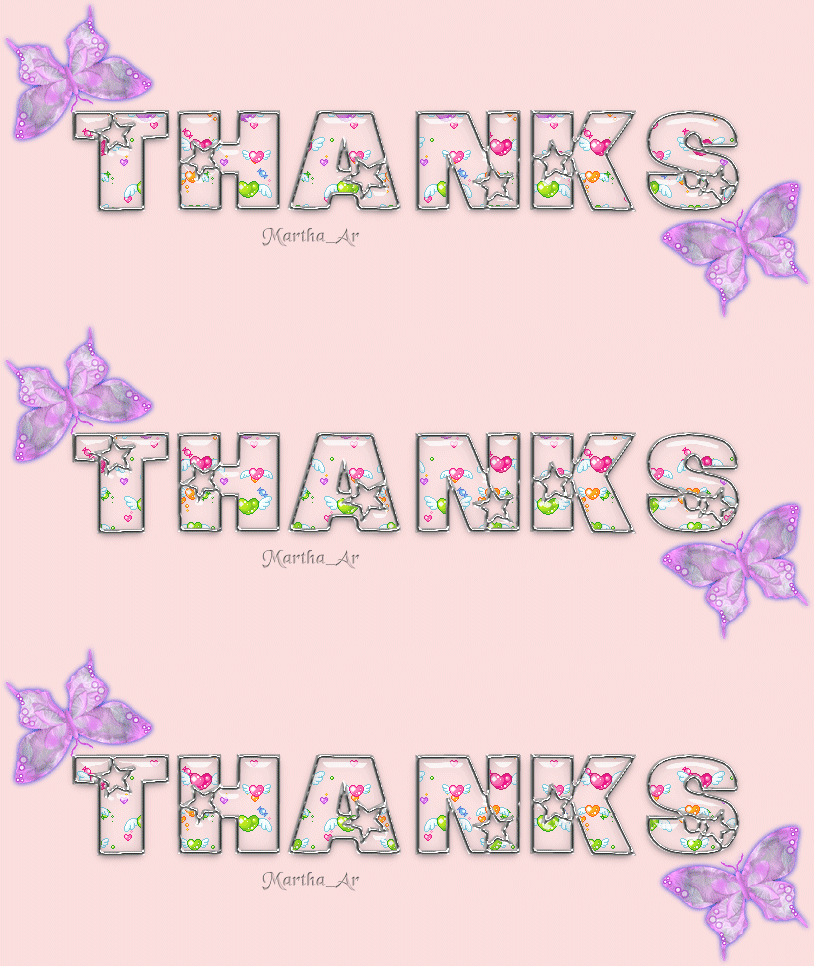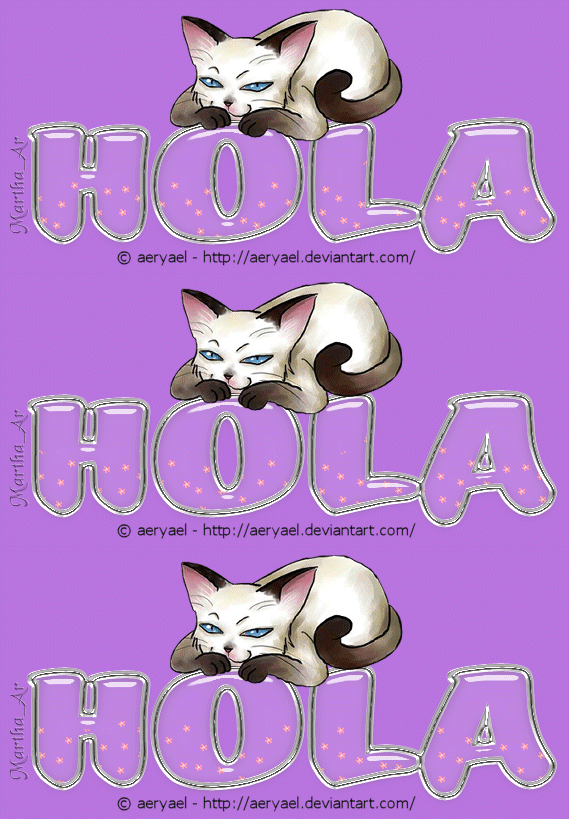
Glitter Filled Text
I want to thank Shawna, a great tut writer and person, for allowing me to use her scrap tutorial 'Glitter Filled Shapes' as inspiration to write this tut. Thanks Shawna. I am really honoured.
Please, visit her blog to see her beautiful creations:
http://scrap-stuff-with-psp-tutorials.blogspot.com/
SUPPLIES NEEDED
EC5 glass preset
Glitter swatches
Brush (for PSP & PS)
(Shawna kindly allows us to use her supplies)
Note: There are other materials in the zip, as it is Shawna's original file for her scrap tut
-
* A 'fat' (thick) font
-
* Floaties and/or glitters or patterns
-
* Filter Eye Candy 5 Impact, Glass
-
* Filter Flaming Pear's Super Blade Pro
-
* Some little tubes to use as embellishments
-
* You may also use tubes or scrap elements.
I'm using PSP 9, but any other version will do. Don't forget to save often, please. Let's begin
Save the presets 'SK Glass Star no Reflection' and 'SK Glass Star w Reflection' in your Eye Candy 5 Impact Glass Presets folder. If you can't find it (it happened to me), save them to another folder and you'll be able to import them later on).
Save the brushes in your PSP Brush folder. Remember you can also import them later on.
Open Shawna's Glitter Swatches in your PSP. She allows recolouring them.
1. Open a transparent image, 400 pixels high and use the width of your screen resolution to choose your width (mine is 1024). Floodfill it with a light colour, you will have the chance to change it once you're finished with the tut.
2. Choose a fat font to write your text. Use white as your foreground colour and turn off your background colour. Type your text using the following settings: Font size: between 72 and 150, depending on the lengh of your text and the font you use; Line width: 7; Line style: Solid; Create as Vector.
3. Once you have written your text, go to Objects < Align < Center in Canvas. Convert to raster layer.
4. On the text layer: Selections < Select All. Selections < Float. Selections < Defloat.
5. Plugins < Flaming Pear < Super Blade Pro. I'm using the preset 'silver.q9q'. Use the settings below. Deselect after applying the filter.

6. Using the Magic Wand, click inside each letter to activate the inner part. Selections < Modify < Expand 3. Open a new layer and position it between you background and your text layer.
7. On the new layer: Plugins < Eye Candy 5 Impact < Glass. In the Settings tab, look for the presets you downloaded. If you couldn't find the folder (like me), press Manage. A new window opens. Press Import, and it let's you look for the folder where you have saved the presets. I used 'SK Glass Star w Reflection' (you may choose to use the one without refletion), and the settings below the first screenshot. Don't deselect after applying the filter!


8. Open a new layer and position it below the glass layer. From this step on, we have different options, so I will use number 1 for the first step in each of them.
GLITTER FILLED TEXT

1. Activate one of Shawna's Glitter Swatches or a pattern or floatie you like. Look for it in your pattern tab and fill the inner part of each letter with the glitter.
2. Open a new layer on top of the layer palette. Look for some accent tubes (or resize some you like) and apply on different parts of your text to make it more attractive.
3. Apply your watermark. This is the moment to choose your background colour. Floodfill the background layer with it, merge layers and export at jpeg.

GLITTER HALF-FILLED TEXT

1. Selections < Select None.
2. Make sure you are on the blank layer you created in step 8. Grab your Freehand tool and start drawing the outline of each letter over the silver outline of the letter. When you reach the opposite side, move across the middle till you get to your starting point. Try to keep inside the outline, don't go inwards or outwards. This is how mine looks:

3. Now, floodfill the selected areas with one of the glitters provided. You may also use a pattern or little tubes for a static siggie.
If you want to make an animated siggie, I will get back to this step in the next option.
If you chose to fill your text with one of the glitters, you have two options: to leave it just as it is, add your watermark and some embellishments, change (or not) the background colour, merge layers, and export as jpeg, or you may follow these additional steps, as Shawna proposes in her original tut: '...you can use a brush to paint on some extra dabs of glitter to obscure the even line across the middle and make it look more jagged'.
4. If you decide to have a try at the 'jagging' effect, look for the 'SK Rough Brush' in your brushes palette or import it from the folder where you have saved it.
5. Leave the settings as they appear, but change the size. Shawna prooses around 43 in her original tut, I have used something around 22 in mine. Create a new layer and position it above the layer you filled with the glitter. Don't change the pattern you used to fill the selected areas.
6. Deselect. Using short clicks, click a few times on the edge of the glittered areas. That will give the edges a rougher look. If it happens that the brush strokes go outside of the silver edges, use the Eraser tool to clean them.
7. Now, merge these two layers (hide the background, glass and text layers), and apply a drop of shadow. Shawna proposes these settings: V & H: 1; Opacity: 56; Blur: 7; Colour: #221d12.
8. Unhide the other layers, add the embellishments and your watermark, change your background colour (if you're not satisfied with the one you chose) and export as jpeg.
You may choose to add Eye Candy 5 Impact, Glass, with different settings or a different preset, to your embellishments, or a slight drop of shadow.
ANIMATED GLITTER (OR FLOATIE) HALF-FILLED TEXT

1. Follow steps 1 and 2 from the 'Glitter half-filled text'.
2. Open a glitter or a floatie in your AS. Choose one which has three frames; if not, you will have to delete frames, or have a heavier siggie, as you will have to use more layers. Right click on the first frame and choose Export Frame to Paint Shop Pro. The frame opens in your PSP. Look at the number the image has (see screen shot) and open your pattern tab. Look for it (use the image number to guide you) and choose it as your pattern.

3. Make two copies of the blank layer you opened in step 8 (in the introduction). Close them. We aew going to work on the original blank layer. Using your Floodfill tool, fill in the interior of each letter. Don't deselect!
4. Now, close the image (the floatie you imported from AS) and a little window will ask you if you want to save it. Click 'NO' and then click 'YES' when it asks if you want to update changes back to AS. You are taken back to your AS and you are ready to export the next frame to your PSP. Right click on the second frame and choose the same option you did in step 2. Pay attention to the number the image has, and look for it in your pattern palette.
5. Cover the layer you have just filled in with the floatie and discovered the next one. Floodfill it with the new floatie you have in your patterns tab.
6. Repeat the same procedure and fill in the last layer in your text.
7. Add your watermark and accents (or little tubes), or you may choose to use just one big tube. Don't forget to add the credits, please!!! And remember this is your last change to choose your background colour.
Time to animate our siggie:
1. Close the two last layers where you applied the floaties. Copy merged and paste into AS as new image. Back into PSP.
2. Cover the first layer where you applied the floatie, discover the second, copy merged and paste into AS after the frame that is already there. Last time to PSP.
3. Cover the second layer with the floatie and discover the third. Copy merged for the last tme and paste into AS after the last frame. Give the animation a speed between 10-15.
This siggie gives you lots of possibilities to play with. Just read the tut, have some tries and then let your imagination fly. The results may just be... wonderful!!!
If you have any doubts, please, feel free to contact me.
May 21, 2008
Please, do not claim my work as yours, copy or grab any of the material here (written or graphic) in any way or place. All my tuts are registered with TWI before I put them in this site.

#tags #siggies #gif #animation #PSP #animation
Shawna's kit is no longer available at 4-shared.
